
Create some enthusiasm out on the salon floor with this simple trick to create an intricate braid that will have not only your guests in awe, but have your fellow stylists asking you how you created this look!
Being a huge fan of the show "Game Of Thrones" myself, let me introduce you to a braid I love to call, Khaleesi. A beautiful and intricate-looking braid that is created simply by tying knots!
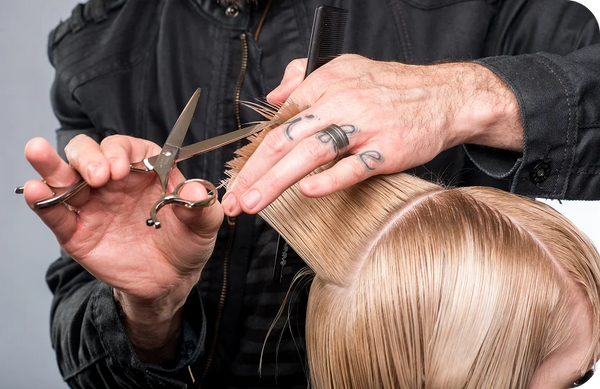
NOTE: We recommend prepping the hair with the Professional Texturizing Iron. Not only will this create texture for the braid, but it will add pliability and grip to the hair.
Now let's start tying knots!
Grab a section about an inch thick beginning at the top of the ear. Take an identical section on the opposite side of the head as well, then gather both sections to the back of the head where we are going to start tying our knots.
Using the rhythm and method of the slip-tie braid, let's begin to tie the shoe. Check out the slip-tie braid tutorial here to understand the hand form and rhythm better.
Take one section in each hand. Making a fist, you will bring your knuckles together facing inwards. With your left hand create a peace sign, which will be your anchor. Take the section in your right hand and wrap it down and around the peace sign, pinching it with your left thumb, pull the hair through then pull the two ends vertically to tie a knot. Pull the knot that you created to the left of center and hold with your left hand.
Merge all the hair that has been tied of to the left of center, into one section. Now come through and grab a section on the opposite side, just below your first section. Making the right hand the action hand, you will again bring your knuckles together, create the anchor, wrap, pull and tie vertically, but this time tying it to the right of center.
Now merge the hair again, grabbing a section from the left hand side and begin creating your knot. When tying the knot, you will always do so to the right or left of center depending on which side you tie the knot. Continue to add hair and tie vertical knots until as you work down. Are you starting to feel the rhythm and see the pattern develop?
NOTE: The hand that you pick the hair up with will ALWAYS be your action hand.
Remember to always tie the knot vertically. You will notice as you work your way down, the braid will start to form a triangular shape. If your guest has layers, just merge them into the sections. Because you are tying knots, the hair will stay together.
When you get towards the end of the hair and run out of sections to grab, continue to tie the hair by alternating the action hand. You may have one section that is longer and one that is shorter, let the shorter section be your action hand, this will even out the two sections.
Once you get to the end, take the end and roll up then fold underneath the braid and secure with grips.
HOT TIP: A grip has a toe and a flat surface; the toe end of the grip will be what goes against the head. The toe will prevent the grip from slipping.
Come back to the front and adjust where necessary to balance the shape. Use a Redken frizz dismiss sheet to add shine back into the hair and remove any unwanted fly-aways.
Whether you are a Game Of Thrones fan or a lover of braids (maybe you're both), this easy yet complex looking braid is one to impress anyone!
