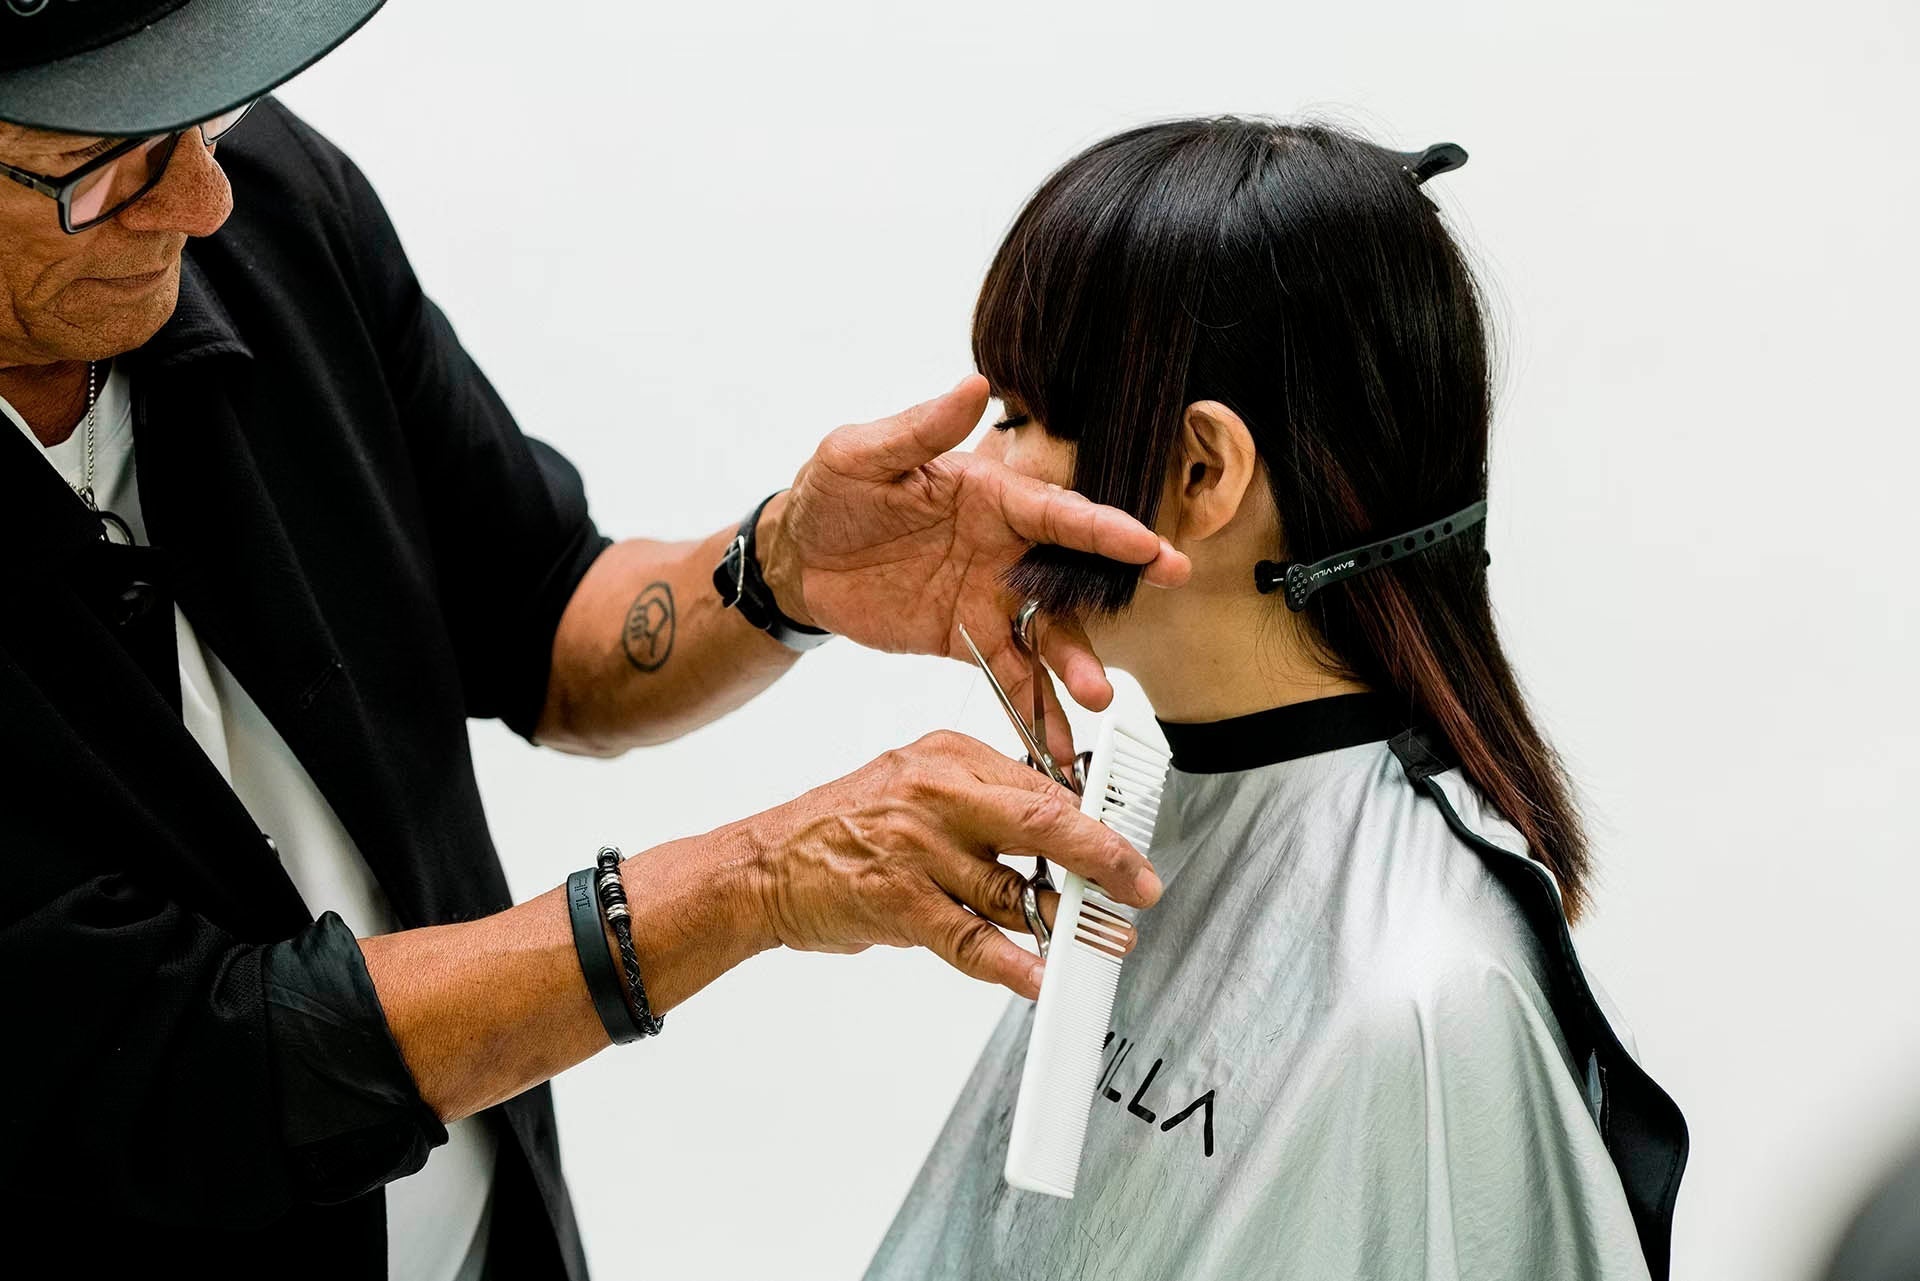
Flat irons may be known for creating smooth, straight styles, but in reality, a great hair straightener can also create curls. To get the look, it starts with a flat iron and is perfected through the right hand positions, tension, and sectioning. Whether you’re looking to create soft bends, ribbon curls, or loose waves, learning how to curl hair with a flat iron is a great skill to have, whether you’re behind the chair or styling at home.
The key is using a tool designed for more than one result. Tools like the SLEEKR® Professional Flat Iron, a ionic hair straightener with a rounded body, curved plates, and even tension, make it easier to glide through the hair without snagging while shaping bends, waves, and curls that look natural. Whether you want a relaxed finish, face-framing movement, or more defined flat iron curls, the final result comes down to the technique you use.
INDEX
How to Curl Hair with a Flat Iron
If you want to create soft, lived-in curls with a straightener, the Sam Villa SLEEKR Professional Flat Iron is designed to smooth, wave, and curl with ease. Its rounded edges, ionic ceramic plates, and consistent heat make it easier to glide through the hair with controlled tension and less snagging, while the ergonomic design helps keep styling more comfortable from section to section.
Before you start, be sure you have:
-
A thermal heat protectant, like Redken Thermal Spray 11
-
A texture spray or lightweight hairspray, like Redken Dry Texture Spray or Redken Brushable Hairspray
Step-by-Step: Easy Flat Iron Curls 2 Ways
Start by prepping the hair with thermal protection and adjusting the temperature on your flat iron based on the hair type. For fine, fragile, or color-treated hair, use the SLEEKR Professional Flat Iron’s color-treated setting. Work in clean sections about 1 to 1.5 inches wide.
Method One: Horizontal Wave
Slightly elevate the section out of its natural fall and insert the flat iron with the top of your hand facing the ceiling. Using very light tension, create a soft C-shape first to prime the hair and create a gentle bend. From there, roll the iron away from the body to create the dip, then move lower on the section and roll toward the body to bevel it back out. Repeating that away-and-toward motion creates a soft, loose wave with more natural movement.
Method Two: Vertical Curl
For the next section, work with about 1 inch of hair and split it in two if it feels too wide. Insert the flat iron vertically about 2.5 to 3 inches away from the root using a very light touch. Rotate the iron about three-fourths of the way, then gently pull through the section. If the curl comes out tighter than you want, go back over it with a slow, light pass to loosen it up a bit.
Using both techniques throughout the hair helps break up the pattern and creates a more natural-looking finish.
Best Hair Types for This Technique
This technique works best on a variety of hair lengths, layered cuts, face-frames, and even bobs that are looking for a softer bend rather than a more defined curl.
Key Tips to Master the Technique
-
Keep tension light to avoid creasing
-
Alternate wave direction for a more natural result
-
Use larger sections for looser movement and smaller sections for more definition
-
Let the hair cool before raking through
-
Finish by loosening the pattern with your hands or wide tooth comb for a more effortless look
More techniques to create curls with a flat iron:

How To Create Ribbon Curls With A Flat Iron
Ribbon curls are one of the easiest ways to create an editorial-looking curl with a flat iron. The result is not overly polished or too uniform. Instead, the curl has a slightly relaxed feel with soft movement and bounce, which makes it perfect for clients who want a polished feel without looking too done.
To create the look, work with medium sections and prep the hair with heat protection. Then use your straightener with controlled tension and a smooth, steady turn through the section to create bounce and shape. Larger sections will give you a softer ribbon effect, while smaller sections will create more definition.
For the full technique, check out the tutorial: How To Create Ribbon Curls With A Flat Iron.
3 More Ways of Curling Hair with a Flat Iron
One of the reasons stylists reach for a flat iron is the flexibility it gives you. With one tool, you can create different finishes just by changing the section shape, the angle of the iron, and the way you move through the hair. In addition to the techniques above, here are three more ways of curling hair with a flat iron, with each one creating a different kind of movement in the hair.
-
Flat Wave:
Creates a structured “S” pattern similar to a finger wave. To get the look, shape the hair into a “C” pattern, tap the flat iron along the section to heat it, then clip the wave in place as you work down the hair.
-
Flat Iron Curl:
Creates a soft, natural-looking curl with a more organic finish. To get the look, take a vertical section, turn the flat iron and hair together about a half turn, then glide down the section, moving a little faster through the ends to keep them soft.
-
Push Wave:
Creates a looser, more textured wave. To get the look, move the hair through the flat iron in a “C” pattern while opening and closing the iron and alternating a push-and-pull motion down the section.
To learn more about all three techniques, read the tutorial: 3 Ways to Wave Hair with a Flat Iron.
How to Make Waves with a Flat Iron?
Creating waves with a straightener helps create a softer, more modern wave. Because you control where the bends are placed, finished looks can range from beachy to piecey or polished. Once you’ve mastered creating waves with a flat iron it offers you a ton of flexibility when styling.

Using a flat iron and a comb
When creating wave patterns, using a comb alongside a flat iron is a great way to ensure the look is controlled without being overly uniform. The comb helps guide the hair and makes the movement easier to see as you work, which is helpful whether you are teaching the technique to assistants, coworkers, or even clients.
Start by smoothing the section first if needed. Then place the iron near the base with your palm down, position the comb parallel to the iron, and use the comb to guide the hair into the direction you want the section to travel. As you move the iron, turn the wrist in one fluid motion while the comb helps control the section and shape the section. The result is a wave that feels natural, with little variations throughout the look.
When using this technique, direction matters:
-
Horizontal sections will give a wider, flatter curl pattern with more fullness.
-
Diagonal back sections create more movement and direct the hair away from the face.
Watch the full Sam Villa tutorial and follow the step-by-step instructions to recreate the look.
Create Waves with a Flat Iron and Braids
If you want a quick and easy way to wave the hair, waves created with a flat iron and braids are an easy option. This method is especially useful when you want to create texture quickly or are looking for a more casual, slightly irregular finish.
Learn the full technique here: How To Flat Iron Braids.
What to avoid when curling hair with a flat iron?

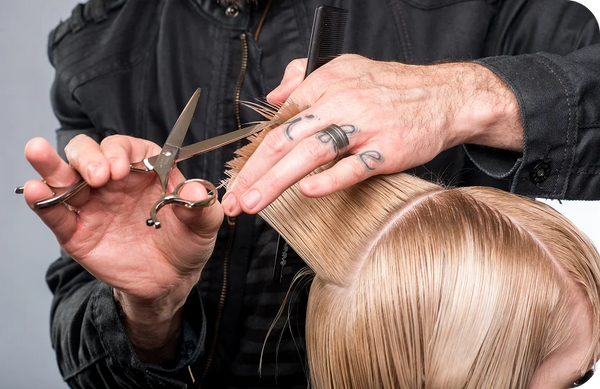
Curling with a flat iron can create everything from soft waves to more defined curls, but the finish depends just as much on what you don’t do as what you do. Too much tension, sections that are too large, or moving too slowly through the hair can impact how the curl looks and how well it holds.
One of the biggest things to watch is using too much tension or choosing the wrong section size. Pressing too hard can leave creases and make the hair harder to glide through smoothly, while sections that are too large may not hold enough bend. Smaller sections will create a more defined result, so the size of the section should always match the finish you want.
Prep matters too! Starting with heat protection helps protect the hair, but you’ve got to let the product dry before going in with your straightener.
From there, the way you move through the hair matters just as much. Moving too slowly, especially through the ends, can make them curl tighter than the mids. For a softer finish, keep the ends a little looser and let the curl cool completely before touching it so the shape has time to set.
Now, let's discuss the DO'S and DONT'S:
-
DON'T forget to use a thermal heat protectant. Flat Irons can produce a lot of heat so it's important to NEVER forget your heat protectant spray. We recommend using Redken Iron Shape 11.
-
DO work in small sections. It's about control and if you try working with too large of a section, the hair will slip out and create a very funky crease in your hair.
-
DON'T stop moving the iron! It's not a curling iron, we don't want to hold the hair in the iron because again, this can cause a crease in your hair. Simply glide the hair through and keep it moving.
-
DO glide through the hair at different speeds! Speed up or slow down, depending on what style you are going for! For a tighter curl, use a slower, more deliberate motion. For looser waves and typically when curling around the face, move through the section a little faster.
-
DON'T curl the same section without allowing the hair to cool first. Whether the curl is too tight or it slipped out from the iron, let that section cool off before re-curling.
-
DO take your time and control the movements of your flat iron until you understand the amount of compression and speed it takes to create curls that are perfect for you!
Hot tips about curling hair with a flat iron
Once you’ve got the basic technique down, a few small changes can completely change the finished look.
-
Watch your direction. Around the face, work away from the face to keep the shape open. Through the interior, alternate the direction to prevent curls from turning into one uniform pattern.
-
Let the section size guide the result. Smaller sections and slower movement create a tighter curl, while larger sections create softer wave patterns.
Pro tip: Make sure the section is never wider than the plates. -
Adjust your speed through the ends. If you want the finish to feel softer, move a little faster through the ends so they do not take on too much bend.
-
Blend techniques for a more natural finish. Combining curls and waves throughout the hair can add dimension and keep the finished look from feeling overdone.
-
Let the hair cool. Once cooled, shake out the shape or finger-rake through it, then finish with a flexible styling spray to add hold without looking too stiff.
-
Practice the motion before adding heat. If you are still getting comfortable with the technique, practice with the straightener off first to help refine your positioning and reduce the chance of dents or creases.
FAQs
What Are the Most Common Flat Iron Curling Mistakes?
Using too much tension, taking sections that are too large, rushing through prep, and touching the hair before it cools are some of the biggest flat iron curling mistakes. Another common mistake is moving too slowly through the ends, which can make the curl look too tight. A lighter hand and consistent pacing is ideal.
How to Create Beachy Waves with a Flat Iron?
For beachy waves, alternate the direction of the bend as you move down the section so the pattern looks lived-in instead of too polished. Keep the tension light, leave the ends a little looser, and rake through once the hair cools. If you’re still struggling, larger sections will help create a softer finish. Read more in our guide: how to get beach waves with a flat iron.
Why Doesn’t Hair Hold a Curl When Using a Flat Iron?
Usually, it comes down to a few factors. Either the section was too large, the hair was touched before it cooled, or hair wasn’t prepped properly. Heat protection with a bit of hold, the right section size, and allowing the hair to fully cool can make a huge difference.
What Type of Flat Iron Is Best for Curling Hair?
A flat iron with a rounded body, curved edges, and even plate tension is best for curling hair. Those details help the hair glide more smoothly and make it easier to create curls and waves without snagging. A tool like the Sam Villa SLEEKR is perfectly designed with that in mind.
Final Thoughts
Curling hair with a flat iron gives you a lot of flexibility from a single tool. With a few adjustments to section size, angle, and tension, you can create everything from loose waves to ribbon curls, which is part of what makes the technique so useful behind the chair and at home.
For that kind of versatility, the right tool makes all the difference. The Sam Villa SLEEKR® Professional Flat Iron is built to smooth, wave, and curl with more control, making it a staple for creating a variety of finishes.
To keep learning techniques like these and more, sign up for the newsletter or continue learning from our Sam Villa tutorials for more flat iron inspiration.