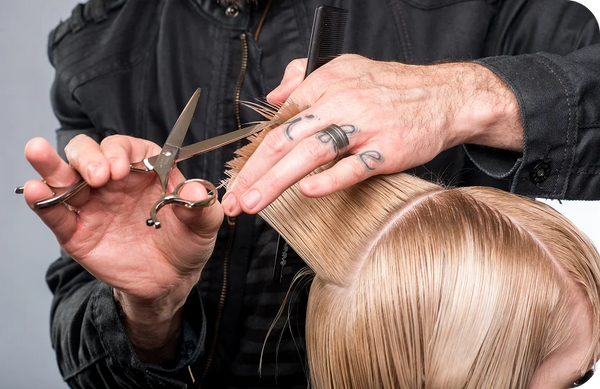
Whether in the salon or recreating a look at home—the ponytail is a style staple. And when it’s created with the right technique, it can also become a statement. Short hair or long, curly or straight—this elevated ponytail is effortless and perfectly polished.
Sam Villa ArTeam member and master stylist Ellen Devine (@ellendevinehair) shows us how to level up a basic ponytail with volume, movement, and a hint of sophistication. A look that’s simple enough for everyday styling but elegant enough for weddings, events, or editorial work—making it a must-have in your portfolio.
Why We Love the Elevated Ponytail
This look is all about balance—soft texture, defined volume, and just enough structure to feel elevated without being overdone. It works beautifully on medium to long hair lengths and enhances natural body or wave with just a bit of heat styling.
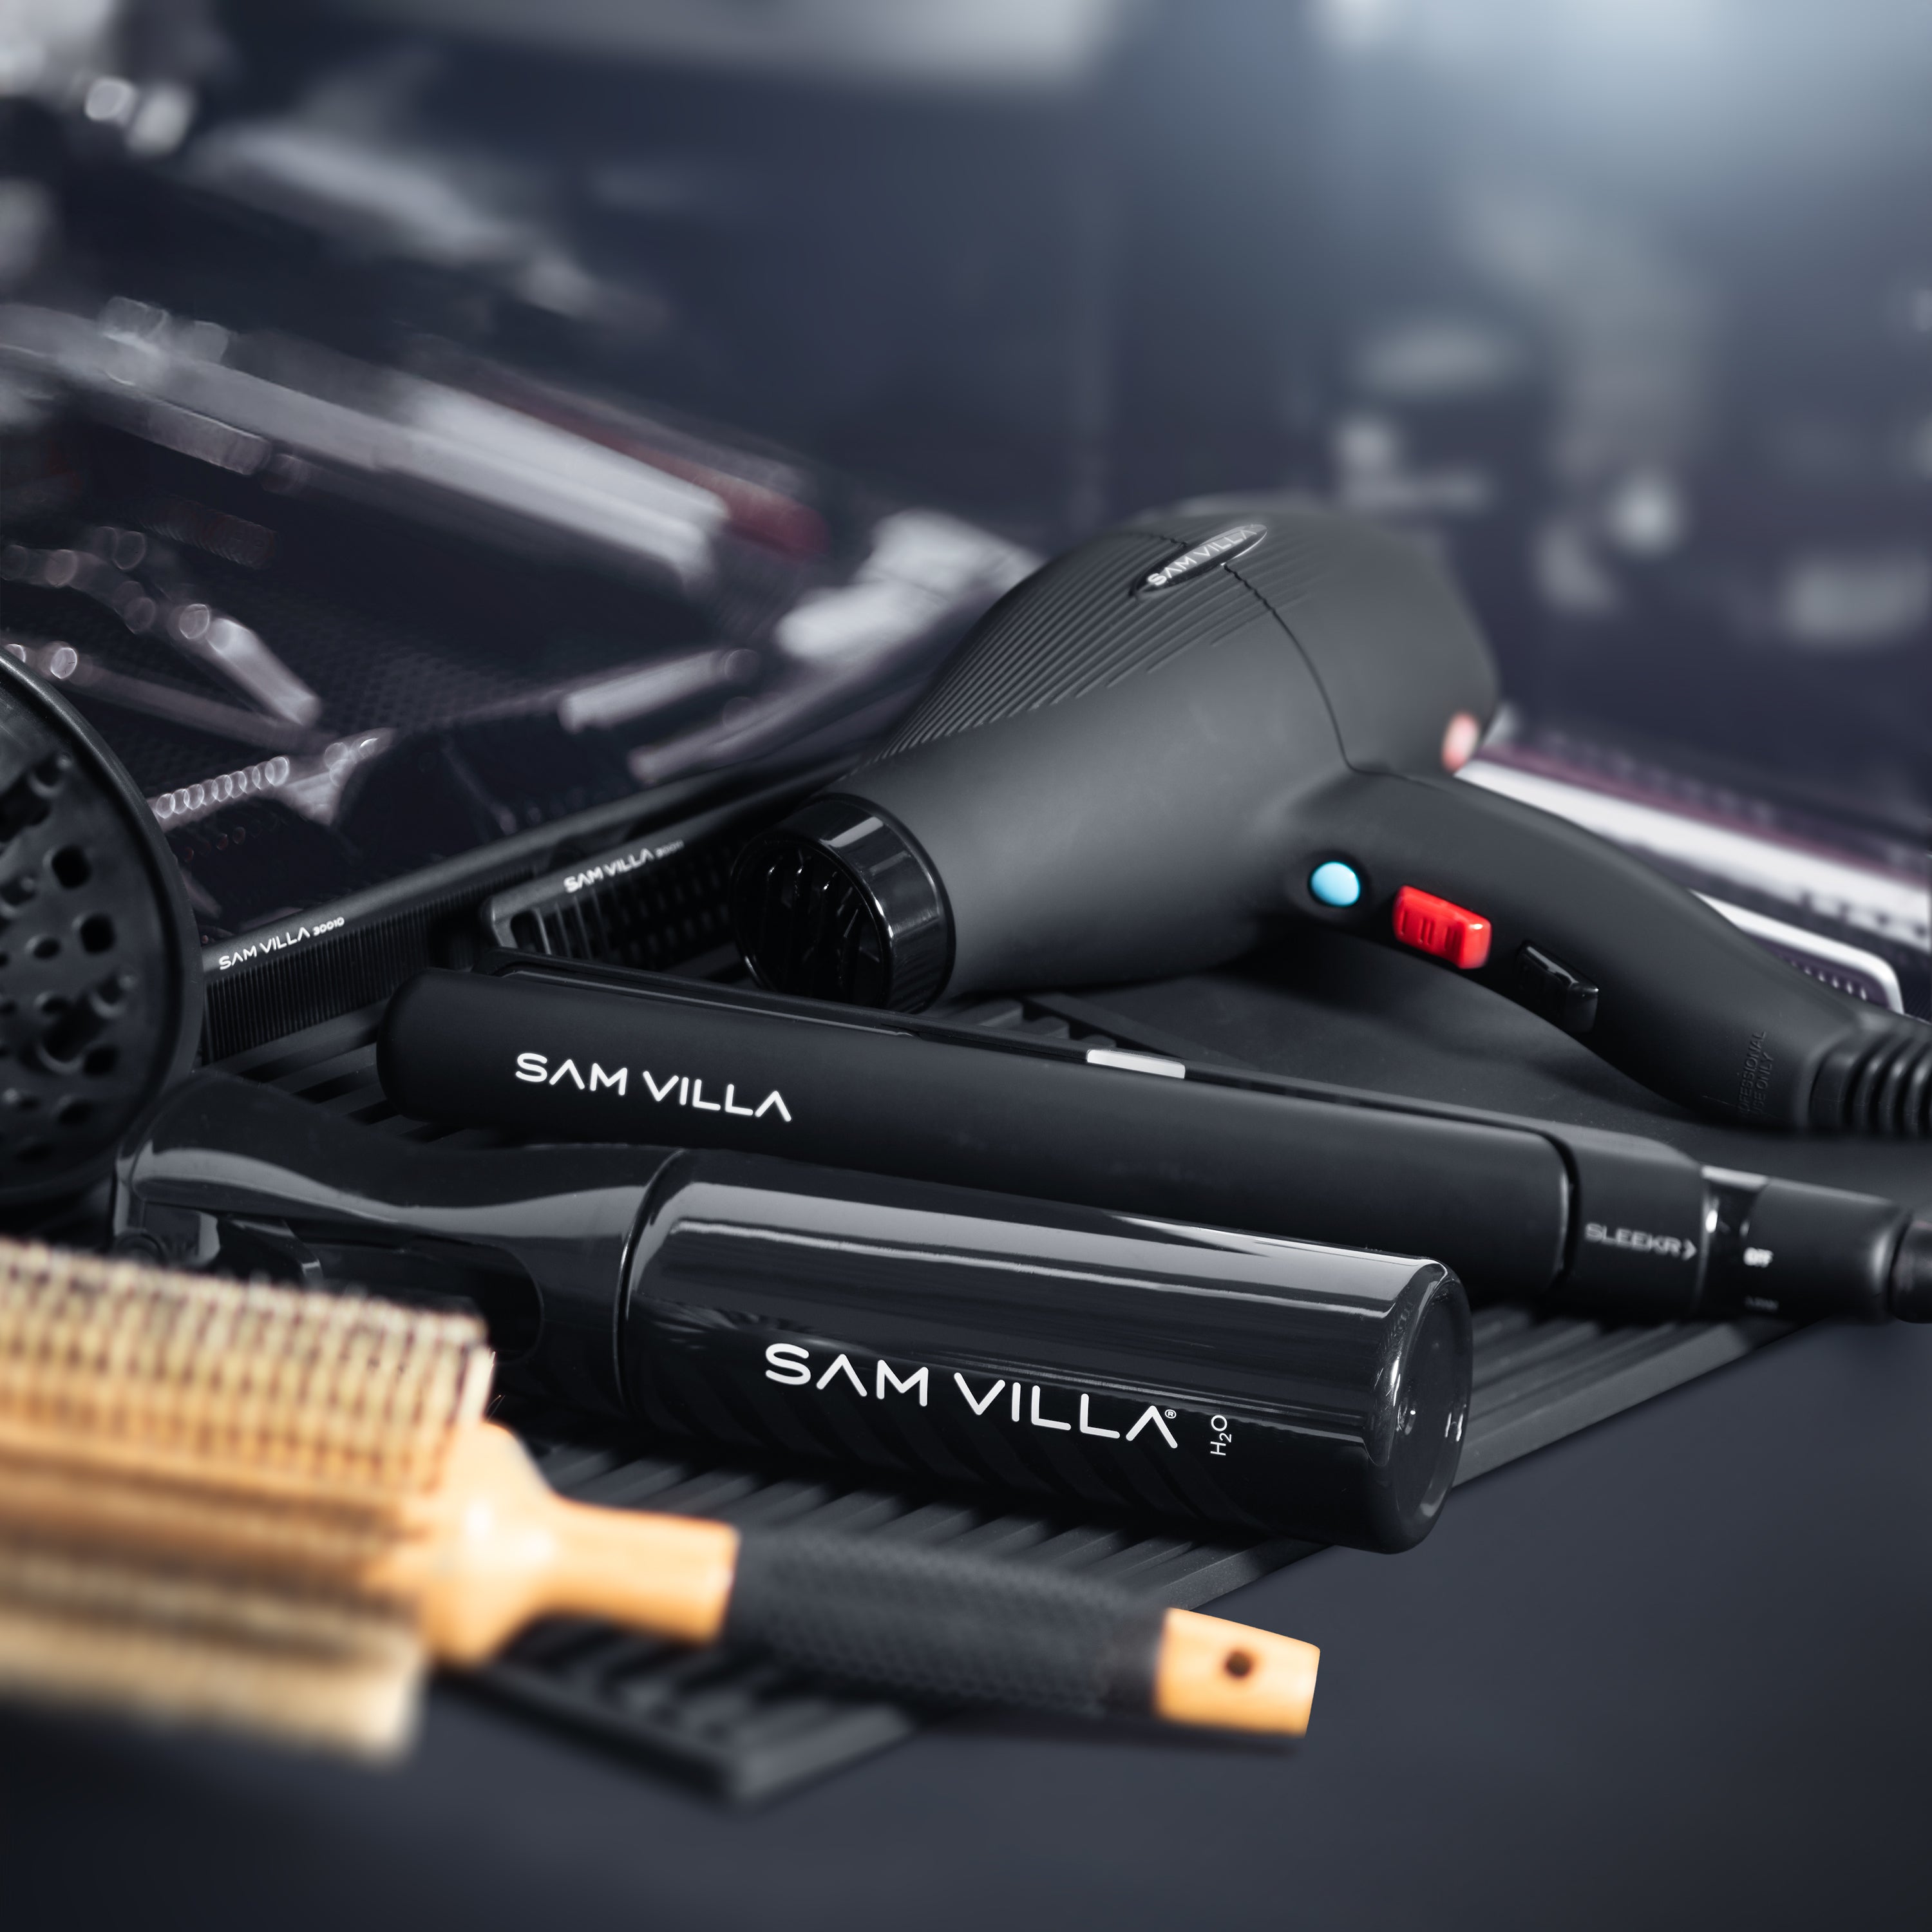
Tools & Products You’ll Need
To achieve this look, start with the right styling tools:
- Sam Villa Artist Series 2-in-1 Marcel Iron & Wand 1.5”
- Texturizing Powder
- Tail Comb & Sectioning Clips
- Elastic Bands
- Heat Protectant Spray – Always a non-negotiable.
Pro Tip: Shop the Style Anywhere Set featuring the Cordless Flat Iron and SLEEKR Professional Flat Iron for touch-ups on the go.
Sam Villa Artist Series 2-in-1 Marcel Iron & Wand 1.5”

Style Anywhere Set

How to Create the Look: Step-by-Step

Step 1: Prep
Start by applying a heat protectant throughout dry hair. Use a 1.5” wand (Sam Villa Artist Series Marcel/Wand) to wrap sections loosely. The goal is to create soft, lived-in waves—not tight curls.
Stylist Tip: Detach the handle to easily wrap hair and create waves.
Step 2: Add Volume
Sprinkle a texture powder just at the base of the crown. This adds lift and hold that frames the face and supports the ponytail without teasing or backcombing.
Step 3: Section
Create a horseshoe-shaped section at the crown and clip the top portion out of the way.
Step 4: Build the Foundation
Split the remaining bottom section of hair in half and bring both sections forward. Drop the top section from the clip, allowing it to fall over the bottom two sections.
Step 5: Knot and Secure
Tie the two lower sections into a knot underneath the top section. Once the knot is secure, flip the top section back over and secure the knot in place using a small elastic.
If the hair is too soft or slippery to hold the knot, apply a light dusting of texture powder to the knot sections before tying.