
Naturally textured hair with higher or tighter curl patterns isn’t just a trend-- it’s a movement! As more and more people are embracing their natural curls and coils, now is the perfect time to learn how to work with these hair types.
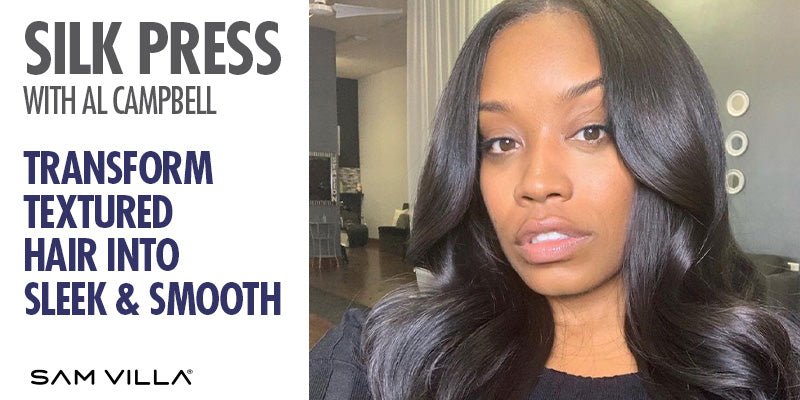
While textured hair education often focuses on hair health and preserving the curl structure, what about when a guest wants to wear their hair straight? Enter the silk press-- a blowout and flat iron technique designed especially for natural curly hair.
A silk press creates a very sleek, polished finish with beautiful shine. Creating a flawless silk press comes down to selecting the right products for the hair type, using a paddle brush to flatten and relax the curl pattern, and flat ironing the hair in small sections.
Sam Villa Ambassador, Mizani Artist, and Chicago-based D.Alexander Studio Salon owner Al Campbell @Al_Alexander is a silk press pro! He’s passionate about bringing out the natural beauty in all wave patterns and helping guests with textured tresses look and feel amazing.
Read on to master this transformative straightening technique:
Prepping the Hair for the Silk Press
Many of our textured guests only wash their hair every 10-14 days, so setting up your silk press for longevity is critical! Textured hair needs the right balance of protein and moisture to stay healthy and ward off frizz. Al suggests tailoring your products to the porosity and consistency of your guest’s hair. Multi-textured hair may require different products on different areas of the head.
Step #1: Before washing your guest’s hair, apply Mizani 25 Miracle Milk Leave-In Conditioner and comb through any tangles. This lets you build a moisture base and remove any shedded hair from the curls.
Step #2: Clarify the hair with Mizani Moisture Fusion Gentle Clarifying Shampoo to remove product buildup, oils and debris from the hair shaft without stripping away natural moisture. For heavier buildup, Al recommends Redken Hair Cleansing Cream Shampoo.
Step #3: Wash and condition the hair using Mizani Thermasmooth Shampoo and Conditioner to seal the cuticle and extend the longevity of your silk press.
Step #4: Infuse the curls with moisture to prevent the hair from expanding or becoming frizzy. For guests with high-porosity hair (including color treated and textured curly hair), consider a strengthening or hydrating treatment. If your guest has low porosity hair, use heat from a hood dryer to open the cuticle and help the hair take in moisture from the Thermasmooth Conditioner.
Step #5: Prep the hair a second time with Mizani Miracle Milk for healthy moisture and heat protection.
Sectioning for the Blowout
Sectioning the hair for a silk press is similar to sectioning for a standard blowout. Create two sections in the nape area and three sections across the back of the head. Section the front area (from the ears forward) into 2-3 triangular sections, depending on how your guest parts their hair. Make sure to section the hair along your guest’s usual parting. This helps ensure that the silk press will look good in the client’s favorite style.
Blow Drying for the Silk Press
Blow drying the hair is the most important part of the silk press, as it allows you to stretch and smooth the cuticle. Adequate tension is KEY to achieving smooth, straight hair. Getting the blowout right reduces the amount of flat-ironing needed-- which means less heat damage for delicate curls!
Step #1: Beginning with the fringe section, prep the hair with Mizani Miracle Milk. Focus the product on the ends, which tend to be drier and more porous than the rest of the hair. Detangle the hair with the Signature Series Paddle Brush.
Step #2: Apply Mizani Thermasmooth Sleek Guard styling cream (for higher texture types) or Mizani Heat Screen Hair Protectant Spray (for lower texture types) from roots to tips. This helps to infuse moisture and seal the cuticle for a silky-smooth finish. Detangle the section again.
Step #3: Attach the slim nozzle to your Artist Series Professional Blow Dryer. Place your paddle brush over the section near the roots. Bring your thumb underneath the section against the base of the brush to create tension.
Step #4: Beginning at the base of the hair shaft, blow dry the hair with high heat and airflow while maintaining good tension with the paddle brush. Blow dry in the direction you want the hair to fall.
Al recommends using a swooping or “tapping” motion, bringing the concentrator nozzle down towards the roots and then lifting it up quickly to avoid burning your guest’s scalp. Make sure to blow dry all four sides of the section-- top, bottom, left side, and right side-- so the hair gets completely dry.
Step #5: As you move down to the mid-strands, continue blow-drying the section with steady tension. Once you’ve moved past the root area, it’s okay to hold the blow dryer above the hair shaft without tapping it. Glide the brush through the hair in a “scooping” motion to help smooth out the curls.
Step #6: Finish the section by blow-drying the tips of the hair. Continue using a “scooping” motion with the brush to bevel the ends. For higher texture types, you may need to place the dryer close to the hair, but it should never touch! Be patient, take your time, and let the heat and tension do the work of flattening out the cuticle.
Step #7: Repeat Steps #1-6 with the remaining seven sections.
Sectioning for Flat Ironing
Flat ironing naturally curly hair can be a challenge, but SMALL sections make it so much easier! Al suggests working with ¼-inch sections to ensure every hair gets straightened and the product is able to infuse the strands.
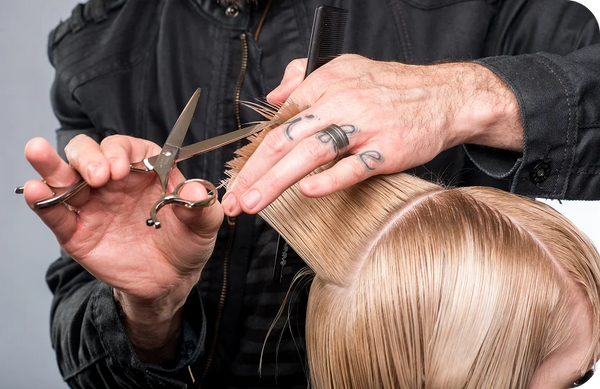
Finishing the Silk Press
Finishing the hair with a flat iron gives your guest the sleek, polished look they want! To smooth and straighten the hair while minimizing heat damage, Al recommends using a ceramic iron on the lowest effective heat setting.
Step #1: Elevate a very narrow section of hair and flat-iron the base two times with the Sleekr Professional Straightening Iron. It’s essential to get the hair fully straight at the base to prevent frizz and create a long-lasting silk press.
Step #2: Place your tail comb into the hair with the teeth facing up, just below the base area. Place the iron right above the tail comb so that they align. Slowly glide the tail comb and the flat iron down the hair shaft together. This technique is called a “comb chase” and it helps to prevent kinks or bends from being ironed into the hair.
Step #3: Repeat Steps #1-2 with the rest of the hair, working up the head in ¼-inch sections.
Step #4: Finish by flat ironing larger sections and gently twirling the flat iron under at the ends to create a natural bevel.
Step #5: Tidy up any flyaways or stray hairs. If the hair needs a shine boost, spritz with Mizani Thermasmooth Shine Extend for a glossy finish and humidity defense. Pat a light holding spray onto your fingertips and apply it to the hair parting.
Conclusion
Your textured guest may want to wear their silk press for up to two weeks, so make sure to educate them about proper maintenance. This includes wearing a silk or satin headscarf to bed and putting the hair in a protective style (with a scarf) before working out. Keeping the hair as dry as possible helps to prevent frizz and keeps the silk press sleek and beautiful for longer!
Instagram Accounts to Follow for More Texture Education