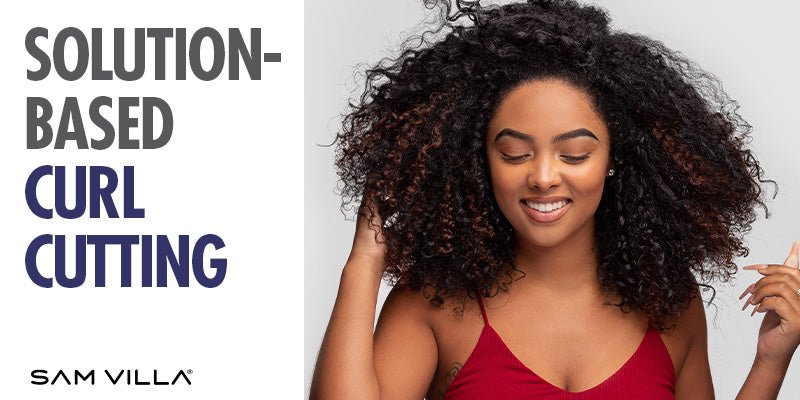
Removing weight and bulk is a foundational skill for every stylist to master. But with so many different variables at play, it can feel more like a guessing game than a science!
Learn how to strategically remove weight in all hair types with Sam Villa Ambassador, Redken Artist and Fix Salon owner Mandy McCullough.
Mandy is a dedicated educator and stylist based in Seattle, Washington. She teaches predictable, repeatable techniques for removing weight and achieving your desired results. By intentionally selecting the right tool and approach for every client, you can create better texture in less time.
Remember that weight removal isn’t just for condensing thick, heavy hair! It can also add movement and beautiful softness to fine hair. Mandy suggests working with dry hair so you can visualize the results as you texturize. Read on to demystify weight removal and layering:
Weight Removal in Straight, Low-Density Hair

What do you do when a straight-haired guest asks for more movement, but wants to keep weight and density through the ends? Cut invisible layers! Here’s how to do it:
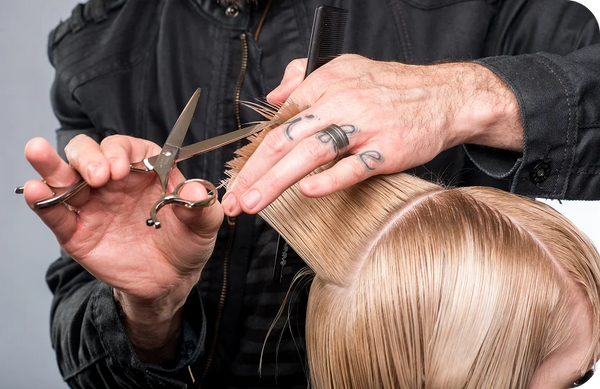
Step #1: Separate a section of hair from the back of the crown area. Elevate it horizontally to 90 degrees. Point cut about 2 inches into the ends with the Signature Series Dry Cutting Shear at a slight angle to the hair. The cutting angle preserves strength and density. Remember, the ends love friends!
Step #2: Repeat Step #1 with the remaining sections to create graduated layers.
Step #3: Now it’s time to create movement in the interior! Working in the crown area, elevate the section and place the tips of your shears into the hair. Using a back-combing motion, close the shears and push them down towards the head.
Continue this process as you work your way through the section, varying your shear entry point (near the ends of the hair, mid-shaft, etc).
Step #4: Repeat Step #3 with the remaining upper sections. Be mindful about removing weight from the front sections to avoid weakening the perimeter. If the hair is low-density, texturize only the surface hair above the parietal ridge.
Then brush through the hair with the Signature Series Paddle Brush held vertically, so that the bristles are aligned. This will make the newly-cut hair slide right out!
Step #5: Working with thick and/or higher-density hair? Remove additional weight by repeating Steps #3-4 lower down on the head.
PRO TIP: Make sure you’re working with sharp shears to avoid causing split ends!
Weight Removal in Mixed-Density Hair

Do you have clients with high density in the roots through mid-shafts, but lower density in the ends? This is a common concern for many guests.
When working with this hair type, our goal should be to remove bulk from the mid-strands while protecting density in the ends. Cutting a blunt perimeter is a better option than point cutting into the thinning ends of the hair.
Step #1: Separate a section of hair from the back of the crown area and elevate it to 45 degrees above the horizontal 90. Place the Artist Series Slide Cutting Shear into the hair at mid-shafts (where the density lives) with the shear tips pointed up towards the ends of the hair.
Step #2: Slowly close the shear as you move it up through the middle part of the hair shaft. (Be sure to stop before the area where the hair begins to lose density.) Repeat this process several times as you work through the section.
Step #3: Repeat Steps #1-2 with the remaining back and side sections.
Step #4: When you reach the recession area, elevate one of the face-framing pieces horizontally and over-direct to the opposite side.
Step #5: Gently point cut into the ends with the Artist Series Slide Cutting Shear at a slight angle to the hair.
Step #6: Repeat Steps #4-5 on the other face-framing section.
Step #7 (Optional): Finish by waving the hair with the Artist Series 1” Wand to bring out the texture and movement!
Weight Removal in Heavy, High-Density Hair

Adding movement to thick, heavy hair can be a challenge! Mandy suggests channel cutting to remove weight quickly, but with precision. The Artist Series Slide Cutting Shear has curved blades that slip through the hair, making it an ideal shear for this technique.
Step #1: Create a center parting and clip the hair above the ear on each side, creating a wide triangle-shaped section at the back of the head. The upper point of the triangle should be just below the parietal ridge.
Step #2: Place the shears at an angle to the hair with the tips pointing down and channel cut the hair with an open-and-close “talking” motion.
Removing weight in curly hair? Use a “pinch and talk” motion by holding small pieces of hair while you cut. This gives you more control and allows you to work with the natural curl pattern.
Continue this process with small pieces of hair until the desired amount of weight has been removed.
Step #3: Finish by channel cutting the same section with the Signature Series InvisiBlend Shear for perfect subtle texture.
Weight Removal in Short Hair

Yes, your short-haired guests need weight removal too! Removing bulk from short hair helps the fringe float away from your client’s face instead of falling straight down into their eyes. Intentional weight removal also creates the shape you want in the haircut.
Be careful to avoid hard lines, which pop out even more in shorter cuts! Remember, movement softens weight removal. Use elevation and over-direction to ensure soft, blended texture.
Removing Weight from the Fringe
Step #1: Separate the triangle-shaped fringe section, from the outer corner of each eye to the high point of the head. Secure the rest of the hair out of the way with Dry Sectioning Clips.
Step #2: Identify which side the fringe will live on. Working on this side of the face, push the Artist Series Slide Cutting Shear through the hair while “talking” the blades open and closed.
Step #3: Move to the opposite side of the face and separate a small diagonal section. Clip the rest of the fringe out of the way.
Step #4: Elevate this section to a horizontal 90 degrees and over-direct away from where the fringe will live. Close the Signature Series InvisiBlend Shear around the hair and push the shear up towards the head. Repeat one time.
Step #5: Repeat Steps #3-4 with the remaining fringe, working in small diagonal sections. Alternate the placement of the shear’s teeth (pointing up or pointing down) to add volume and light, frothy texture.
Step #6: If you need to remove length as well as bulk from the fringe, repeat Steps #3-5 with the Signature Series Reversible Blending Shear for more powerful hair removal.
Removing Weight from the Back

Step #1: Create a horizontal section at the crown area and clip this hair out of the way.
Step #2: Pick up a small piece of hair from the back section and place it into your comb, with the comb’s teeth facing up. Lift the hair up to a horizontal 90 degrees while point cutting into the ends with the Signature Series Reversible Blending Shear.
Step #3: Repeat Step #2, working across the back section until you have created your desired shape.
Removing Weight from the Crown
Step #1: Separate the hair at the back of the crown area and elevate it to 45 degrees above the horizontal 90.
Step #2: Close the Signature Series InvisiBlend Shear around the hair and push the shear down towards the head in a back-combing motion. Repeat with the remaining hair.
Conclusion
“The biggest thing is just making sure that we’re using the right tool in the right way to get the right result.”
-Mandy McCullough
We’ve all learned HOW to remove weight, but the magic really happens when we know WHY we’re doing a certain technique! By learning how elevation, over-direction, sectioning, shear type, entry angle and cutting techniques affect the outcome, we can tailor our weight removal to each guest’s unique needs. Be sure to communicate with your guest so they don’t panic when hair starts hitting the floor!
For more free education, follow Mandy @fancyfinish on Instagram. Let’s keep learning and leveling-up our skills behind the chair!
Sam Villa is Co-founder and Chief Creative Officer of the Sam Villa Company (Allvus, LLC), a leading education and styling tool company for the professional hair industry. He is also Global Artistic Ambassador for Redken 5th Avenue, a L’Oreal brand. Villa is the 2020 International Hairdressing Awards ‘International Hair Influencer of the Year,’ the 2017 NAHA Lifetime Achievement Award Winner, Intercoiffure America/Canada Member, Behind the Chair Stylist Choice Award Winner for Favorite Platform Artist and Educator (2012, 2011 and 2007) and Favorite Overall Educator of the Year (2015). His inspiring education and innovative ergonomic styling tools can be experienced on samvilla.com. The Sam Villa brand brings free digital education to everyone including hot tips and techniques, as well as access to livestreamed educational events. The company also offers professional tools for consumers so they can achieve salon-quality results at home with minimum effort.