Winter is all about fresh starts, cozy textures, and frizz-fighting finishes. As clients return from the holidays with dry, brittle strands and a desperate need for moisture and polish, the winter blowout becomes your go-to service. But tackling dry, static-prone hair in the cold season requires more than just heat. You’ve got to apply the right techniques, tension, and tools.
Here’s how to create the perfect winter blowout that adds shine, controls frizz, and delivers hydration every time.
The 2026 Winter Blowout Guide
Step 1: Choose the Right Dryer
When shine and polish is needed, we always reach for the Pro Light Ionic Hair Dryer. This ultra-lightweight dryer (under 1 lb) is your MVP for faster drying and longer styling days. The ionic technology smooths the hair cuticle, reduces static, and adds shine—a must in the dry winter months. Plus, it’s engineered to reduce arm and shoulder fatigue, making it a stylist's favourite for all-day use.

Pro Tip: Use the concentrator nozzle for targeted tension and smoother results.
Step 2: Pick the Right Brush
Every blowout starts with understanding the hair you’re working with and matching the brush accordingly. Here’s how to choose:
Paddle Brushes (Perfect for smoothing, speed, and straight finishes)
Artist Series Polishing Paddle Brush

-
Best for smoothing long, thick, or textured hair
-
Nylon and boar bristles enhance shine and reduce frizz
-
Provides more polish with fewer passes

-
Ideal for wrap-drying and creating sleek styles
-
Ionic nylon bristles add shine and glide easily through wet hair
-
The wide paddle shape speeds up drying time
Round Brushes (Best for volume, bend, and body)
Artist Series Spiral Thermal Brush

-
Nylon and boar bristle combo for tension and polish
-
Thermal core retains heat to lock in curl and shape
-
Best for creating voluminous curls or bounce
Signature Series Thermal Round Brush

-
Ceramic barrel heats evenly for long-lasting styles
-
Boar and nylon bristles boost shine and volume
-
Comfortable, ergonomic handle for all-day use
Signature Series Small Round Brush
-
Great for shorter lengths or creating defined bevels and movement
-
Lightweight bamboo body and rubber grip for comfort and control
Watch & Learn: For even more tips, watch How to Choose the Right Brush with Andrew Carruthers
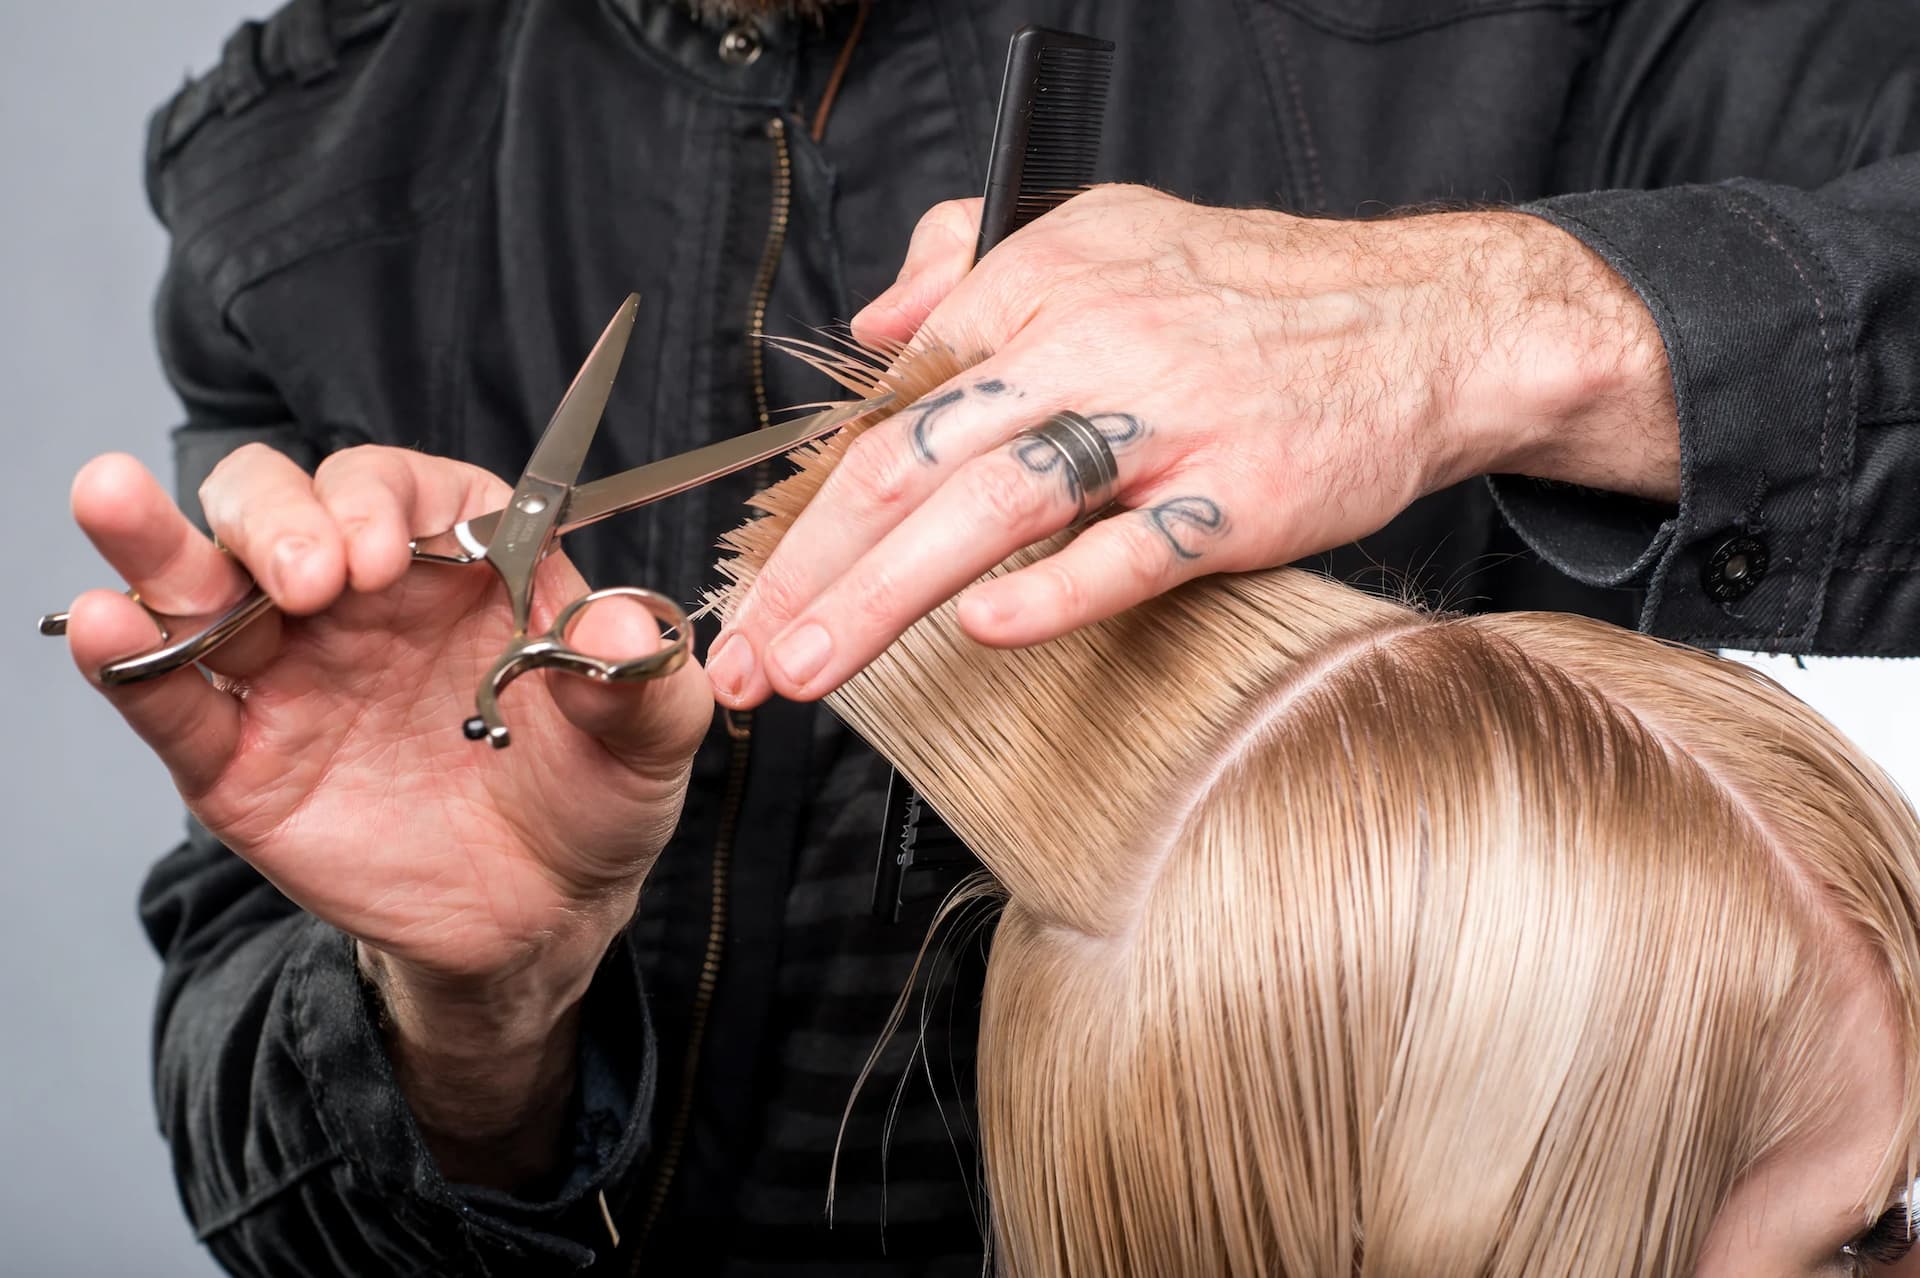
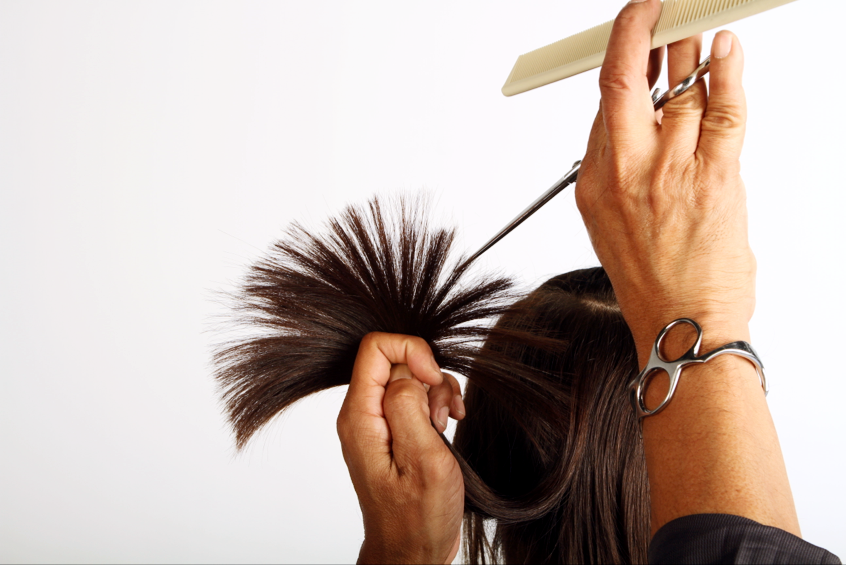
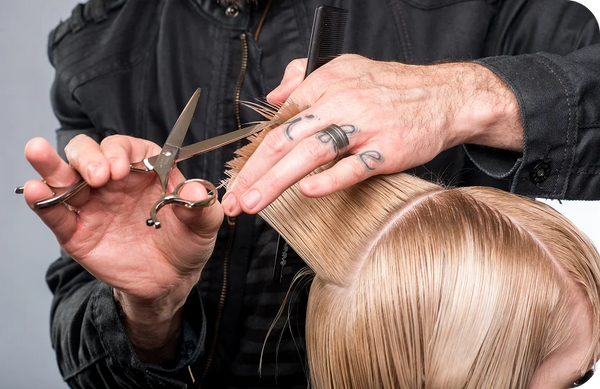
Step 3: Tension is Everything
If you want that glossy, frizz-free finish, don’t just rely on heat—tension is key. Use your brush to create consistent stretch from roots to ends, following closely with your dryer.
Tool Tip: Keep your nozzle parallel to the section and aim down the hair shaft to seal the cuticle.
Pro Tip: Watch this quick tutorial on Creating Proper Blow Dry Tension with expert stylist tips.
Step 4: Customize the Finish
Not every client wants stick-straight strands. Here’s how to customize the winter blowout to their style:
-
Sleek & Straight: Use a paddle brush with low heat and a cool shot at the end to lock in shine
-
Body & Volume: Round brushes are best paired with vertical sections for lift
-
Polished Curls: Choose the Spiral Thermal Brush to add bend and bounce on mid-lengths and ends
5. Don’t Skip the Products—They’re Essential for Combating Dry Winter Hair
Dry winter air can leave hair brittle, frizzy, and prone to breakage, so choosing the right products isn’t just about style, it’s about enhancing the health of your hair. Always start with a heat protectant before blow drying to prevent damage and lock in moisture.
Then, lock it in with the right finishing products. To seal your look and add long-lasting polish, layer your finishing products based on the desired result. Reach for lightweight serums to smooth and add shine, volumizing sprays for body and lift, or defining creams to enhance texture and movement.