
Twist Cutting: taking a section and twisting it out of it's natural direction to increase over direction and elevation on the outsides of that section.
Here at Sam Villa we use the twist cutting technique on several different haircuts, one in particular is The Scarlet haircut. We feel that twist cutting is truly one of the best haircutting techniques to achieve dimension and softness.
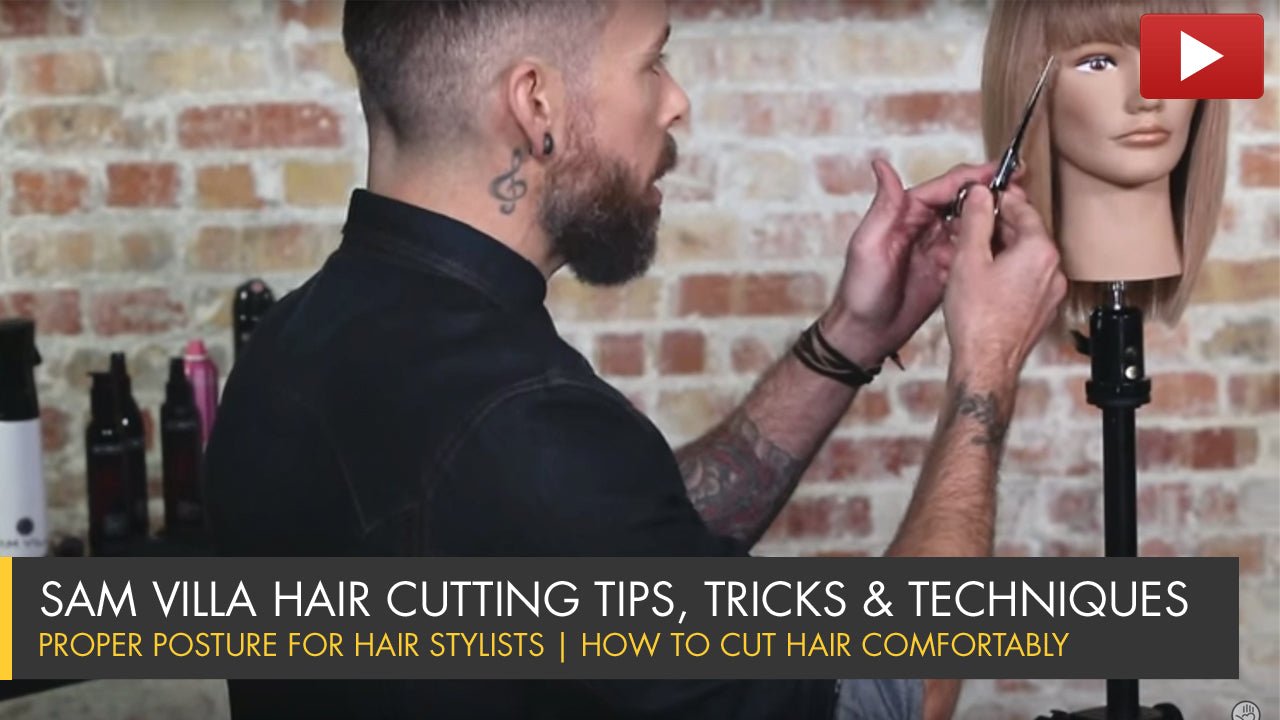
Today I would like you share with you a twist cutting technique I use often in the salon to add layers and texture through out the crown area. So let's get started!
Tools For Success:
Beginning at the high point of the head, take your long cutting comb and section to the corner back and diagonally down to the mid occipital center back, creating a triangle section.
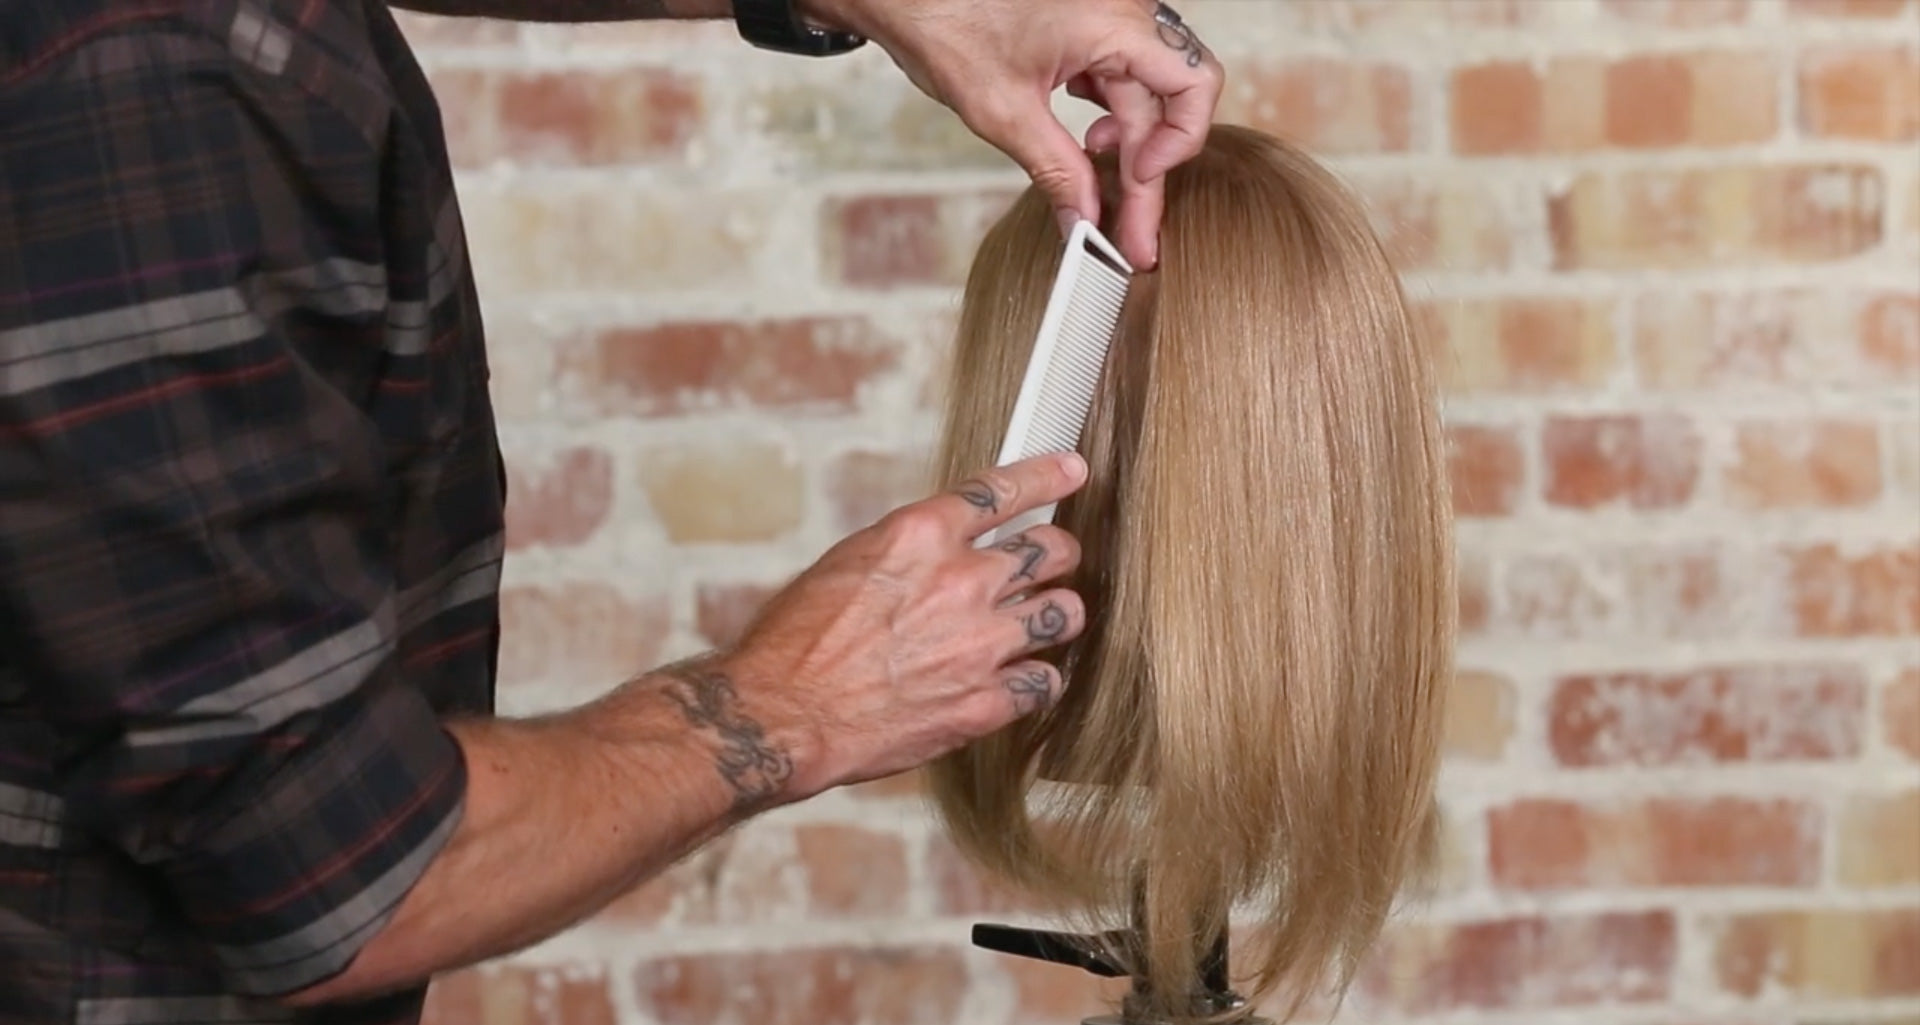

Next, step to the other side and mimic the same sectioning, creating two triangles and once they are put together you create a diamond. What you should end up creating is a diamond shape the encompasses the crown area. Diamond sectioning is a flattering shape for the crown area and allows the shape to naturally fall to the back of the head.

Next we are going to angle diagonally right off the crown.
HOT TIP: Take your long cutting comb and put it flat on the crown, this is where you want to elevate the hair out from.

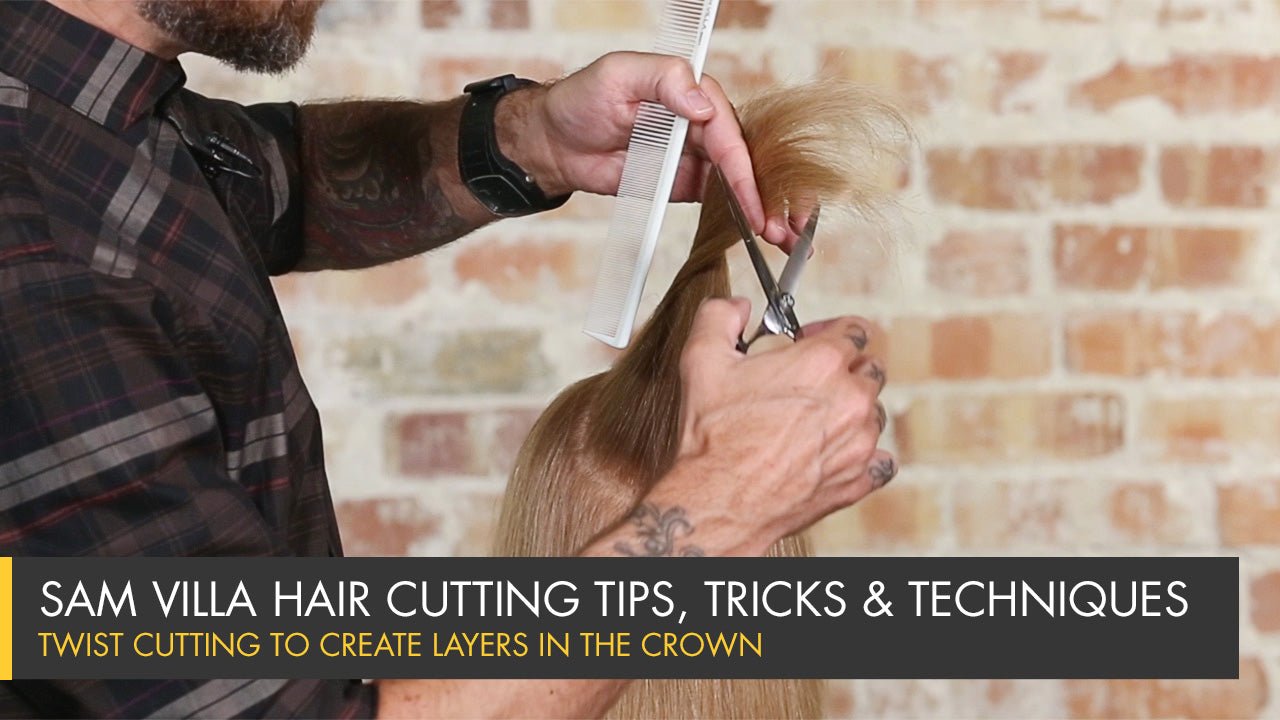
Everything is over-directed into the center of our diamond section. Once we have established our over direction to the center and elevation off the crown, we are going to begin to twist our section.
Hold the hair firmly in your fingers and take a walk around the head, to the other side. As we do that, it's essential that we allow the hair to slip through the fingers. If we hold onto it too tight we will not get the correct twist effect.


After the section has been twisted around, you can now see that the hair is being stretched even farther out of the natural position which increases the over direction and elevation.

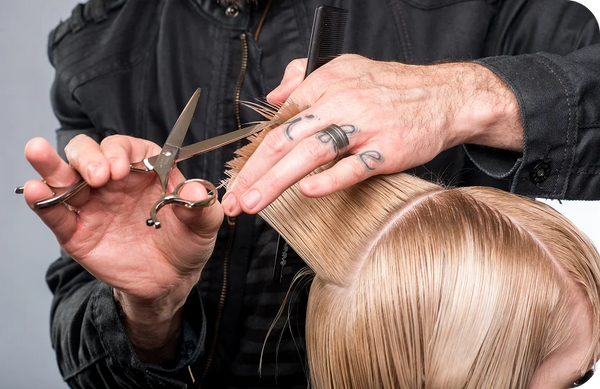
Because we are cutting the hair dry we recommend using your Professional 7” Dry Cutting Shear, these shears are designed to handle large amounts of dry dense hair. Taking your shears, we are going to cut on that diagonal finger angle we have established from the elevation.

You will notice the cut is a very blunt line, but because of the elevation, over direction and twisting action, when the hair falls it actually falls soft and creates a nice texture throughout the crown area.

If you grab a section within the section we just made the cut on, you will notice the hair is shorter in the middle and longer on the end. This is the result of the twisting movement we just did, this is why we don’t create blunt lines once the section is released back to it’s natural fall.

Check out more of our Twist Cutting techniques.
Do you utilize twist cutting techniques behind the chair? Share your success stories and/or challenges with this technique.